Pages

Wednesday, March 20, 2013

Free Mini Bunny Pattern

Hello everyone!  Today I have for you a sweet little tutorial on how to make a felt bunny.  I think these would be perfect as Easter gifts, but, as we all know, everyone loves bunnies whether or not it's Easter, so they're really good for any occasion!  I've chosen to attach the bunnies I've made onto a head band, barrette and brooch pin, but you could also make them as teeny little bunny toys to tuck into a pocket or tin, maybe with a little blankie and pillow:)

My lovely niece, Amy, was thrilled to model the bunnies for you, so here she is wearing the head band above, and the barrette and brooch below.  As you can see, she's wearing a T-shirt with one of my embroidery designs that I printed onto iron-on paper.   


The bunny is super easy to make, so you may want to cut out and sew a bunch at the same time.  In fact, it would make a lovely project for you to do together with your little one!  You can download the pattern pieces here.


You'll need:
:  Scraps of felt                                                             :  Embroidery thread
:  Disappearing ink or water soluble ink pen               :  Polyfil
:  Barrettes, brooch pin, head band                              :  Pink coloured pencil or powder blush
:  Embroidery scissors

**  Please click on the photos for better detail.

**  Please be aware that some of you will not be able to download the pattern pieces.  We're not quite sure why that is the case, but if you'd like me to send the pattern pieces via email, please contact me at md1911(at)shaw(dot)ca, and I'd be happy to send them over for you:)


Cut out pattern pieces, lay onto chosen felts and cut out using a small, sharp pair of embroidery scissors.  Arrange your felt pieces onto your work area as I have them in the photo above (right sides facing you).  Draw a little eye onto each head as shown with your water soluble or disappearing ink pen.


Applique each inner ear onto the attached ear on each bunny.


Flip bunnies over (wrong sides facing you) and lay each single ear onto each attached ear, aligning the tops and sides of the ears.  You'll notice that the bottom of each single ear is a little longer than the attached ear - that will ensure that when you sew the sides of the bunny together, the little tabs will be tucked in between the two layers.


Whip stitch each single ear onto each attached ear.


Flip bunnies over once again, so that the right sides are facing you.  Embroider the outline of the eyes with black embroidery thread and fill in using satin stitch.  Stitch a tiny dot of white embroidery thread onto the eye to give the illusion of light reflecting off the eye.


Place sides of bunny together, wrong sides facing.  Starting at the curve of the back of the neck, whip stitch around till you get to the ears.  Back stitch through all layers of felt along the base of the ears and then continue whip stitching once you get to the other side of the head.  Continue whip stitching around to the start of the bunny's tummy.  Stuff head and neck with polyfil.  I like to use an orange stick to gently push the stuffing into place.


Continue whip stitching around to the other side of the bunny's tale.  Gently stuff legs and body and continue whip stitching to close the seam.  Leave a length of thread for attaching the bow and also for attaching the bunny to either the head band, barrette or brooch pin.  Smudge a little colour onto the bunny's cheeks to give them a rosy glow.


Position the bow in the centre of the neck and stitch the centre of the bow in place.  Take your length of thread through to the back of the bunny as you'll be using it to attach the head band, barrette or brooch pin next.


Pin bunny onto head band/barrette/brooch pin and sew on securely.


I hope you enjoy making these little buns and I'd love to see pics of them!  You can post them on my Facebook page:  https://www.facebook.com/gingermelondolls?ref=hl, as well as on the Gingermelon group page on Flickr:  http://www.flickr.com/groups/2124571@N25/.


Oh, and by the way, I'm happy to announce that you can now purchase the gorgeous Merino wool blend felt, as well as the safety eyes that I use to make many of my creations, in my shop! 


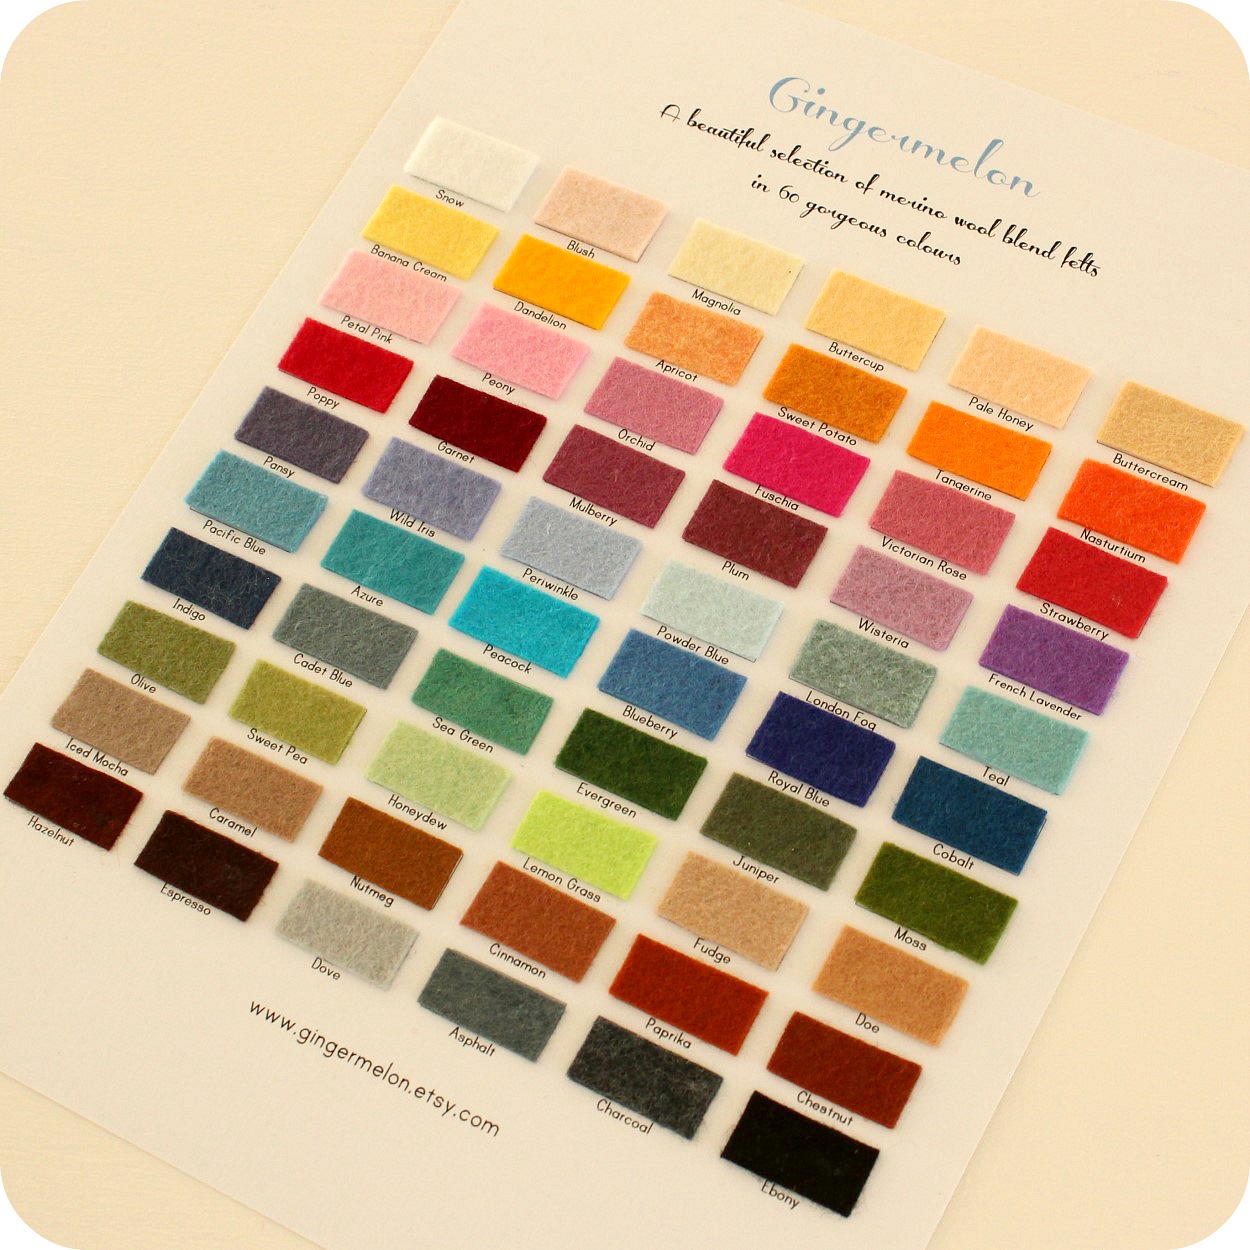
There are 60 luscious colours to choose from, and you will absolutely love working with this soft, vibrant, high quality wool blend felt!  Below is a swatch card with all the colours I've chosen for my shop.


Happy sewing everyone!
~Shelly

Wednesday, March 13, 2013

A Spring Announcement!!

Hi everyone!  For many of us, Spring break and Easter are just around the corner!  It's so lovely to see the cherry blossoms blooming and the daffodils and tulips poking their pretty heads out!  Spring is definitely my favourite season as it's usually a time of renewal and transformation.  Having said that, I thought I'd share some exciting news with you all!  And no, I'm not pregnant!  I'm very pleased to announce that very soon, I'll be offering the beautiful wool blend felt that I use to make most of my dolls and animals, in my etsy shop.  I've thought about doing this for quite some time and now is the perfect time to do so!  Will keep you posted as to when everything will be ready!! 

For Easter this year, I've designed a sweet little Easter Bunny and Chick pattern that I think would be a perfect project to make with a child during Spring break!  These little darlings are very quick and easy to whip up and would look so adorable in a pretty basket filled with chocolate goodies!


Each bunny measures about 5 inches tall and the teeny chick stands about 2 inches tall.


The pattern for these little ones is now ready and available in all my shops:)
~Shelly xo

Friday, March 8, 2013

New Collection of Paper Dolls

Well it seems that this has been the worst week for taking decent photos ever!  I can't begin to tell you how many times I have tried to get good shots of my new collection of Paper Dolls!  Is it me, my camera or just the incredibly gloomy weather we've been having lately??  I don't know, but thankfully, I woke up to a perfectly sunny morning today, and have been snapping pics all day!

 I've made a collection of five different dolls, including a little mermaid that has the option of wearing her tail or pair of legs.  The collection can either be purchased as a set of five colour-your-own dolls, or, for those who prefer them coloured already, they're also available in pairs - one doll with two different colour options.  They're available as downloadable pdf prints and can be printed over and over again!  These are perfect for keeping children occupied on rainy days or when they're feeling crafty:)

Coral and Peach

Juniper and Clover

Lavender and Cinnamon

Vanilla and Ivory

Sky and Iris

Here's a few other things I've been doing lately:

  Made a few dresses from gorgeous Liberty of London fabric for Blythe.

For this little one, I tried a new way of doing her head, which I quite liked.  Usually my cloth dolls' heads and bodies are made in one piece and this version separates the head and body which I will do from now on.  Her hair is made from wefted mohair.


And this little one is slightly larger than the one above which meant that she was much easier to sew! My dear mom made the teeny cardigan for her:)

Hope you've all been well and staying clear of the flu!  I managed to pick up a nasty bug which lingered for almost five weeks, but I'm finally feeling better now and ready for more doll making!!

Have a wonderful weekend,
~Shelly xo